How to make a link tree website
A link tree website lets you share all your links on one site.
It is a landing page where you can display the links to your social networks, blog posts, businesses, projects, and more.
Create a link tree website for free »Why create a link tree website
The links website is great to grow your online presence.
It makes it easy to share links for the places where you have content.
In addition, the links website helps people to connect with you in more than one place.
By creating the links website on your own, you have complete control of it.
How the site looks reflect your brand. Design it the way you want to appear.
What do I need to know to create my link tree website?
HTML, CSS, and JavaScript are the basic languages to create a website.
It is all you need to make your links site.
- Create the structure with HTML. The first thing you have to learn, is HTML, the standard markup language for creating web pages. Learn HTML ❯
- Style with CSS. The next step is to learn CSS, to set the layout of your web page with beautiful colors, fonts, and much more. Learn CSS ❯
- Make it interactive with JavaScript. After studying HTML and CSS, you should learn JavaScript to create dynamic and interactive web pages for your users. Learn JavaScript ❯
How do I get started
There are two ways to start building a link tree website.
Building from scratch or using a template.
Build with W3Schools Spaces
In Spaces, you can build and experiment with your link tree website.
Here you can make static sites with HTML, CSS, and JavaScript.
Everything you need right in the browser.
Learn more ❯Building a link tree webpage from scratch
The first thing you need to do is to build a layout, then add content.
To create a website layout, go to our article on how to create a website: How to Create a Website
Once you have made the layout. Create the two main sections listed below:
1. Bio section.
The bio section is the first thing people see when visiting your link tree website.
It is displayed on top of the link tree website.
Keep it short and sweet.
The bio section can contain your image, name, and your profession.
People are more comfortable connecting with you if they know your name and how you look.

2. Links section.
The links section contains all the links you want to share.
It is displayed under the bio section.
Make sure that the links are well structured.

Building with a template
Starting with templates is an excellent way to get inspired and to learn.
The link tree templates can be loaded directly in Spaces. Get started in a few clicks.
Copy the code and paste it in the Spaces editor or save it to Spaces from the TryIt editor.
Get started »* no credit card required
Personalize the template
Here is a four-step approach to making the template your own.
Step One: Change the background
Find the background or background-image property in the code and change the URL.
Read here for how to change a background image: How to change background image
Step Two: Add your picture
Find the <img> tag and change it to the URL to your picture.
Read here for how to change an image: How to change an image
Step Three: Write your bio
Find the paragraph tags in the top of the code and change the text between the <p> and </p> tags.
Read here to learn more about paragraphs: About HTML paragraphs
Step Four: Add your links
Find the anchor tags and change the text in between of the <a> and </a> tags.
Read here to learn more about anchor tags: About HTML anchor tags
Browse and pick a template
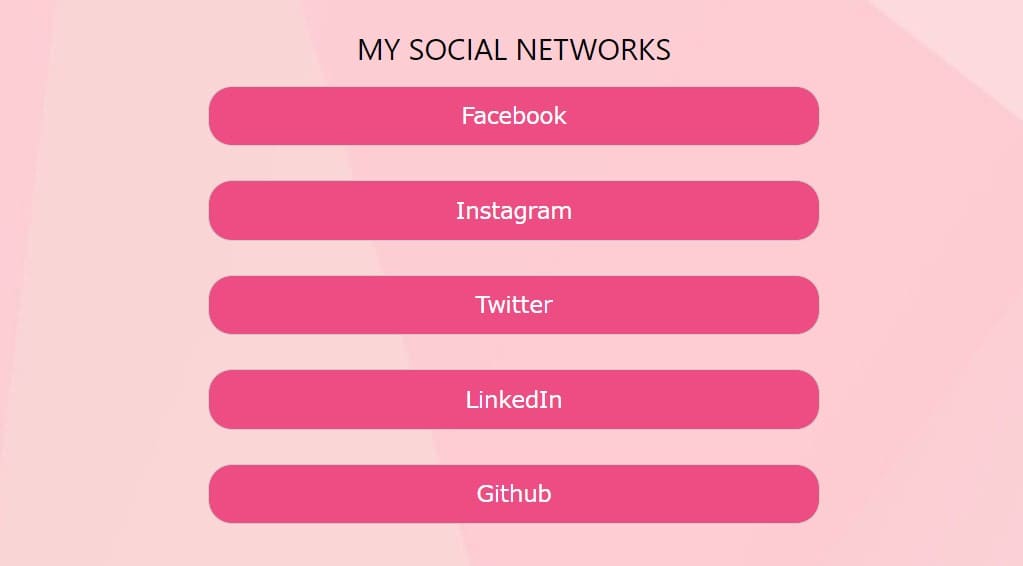
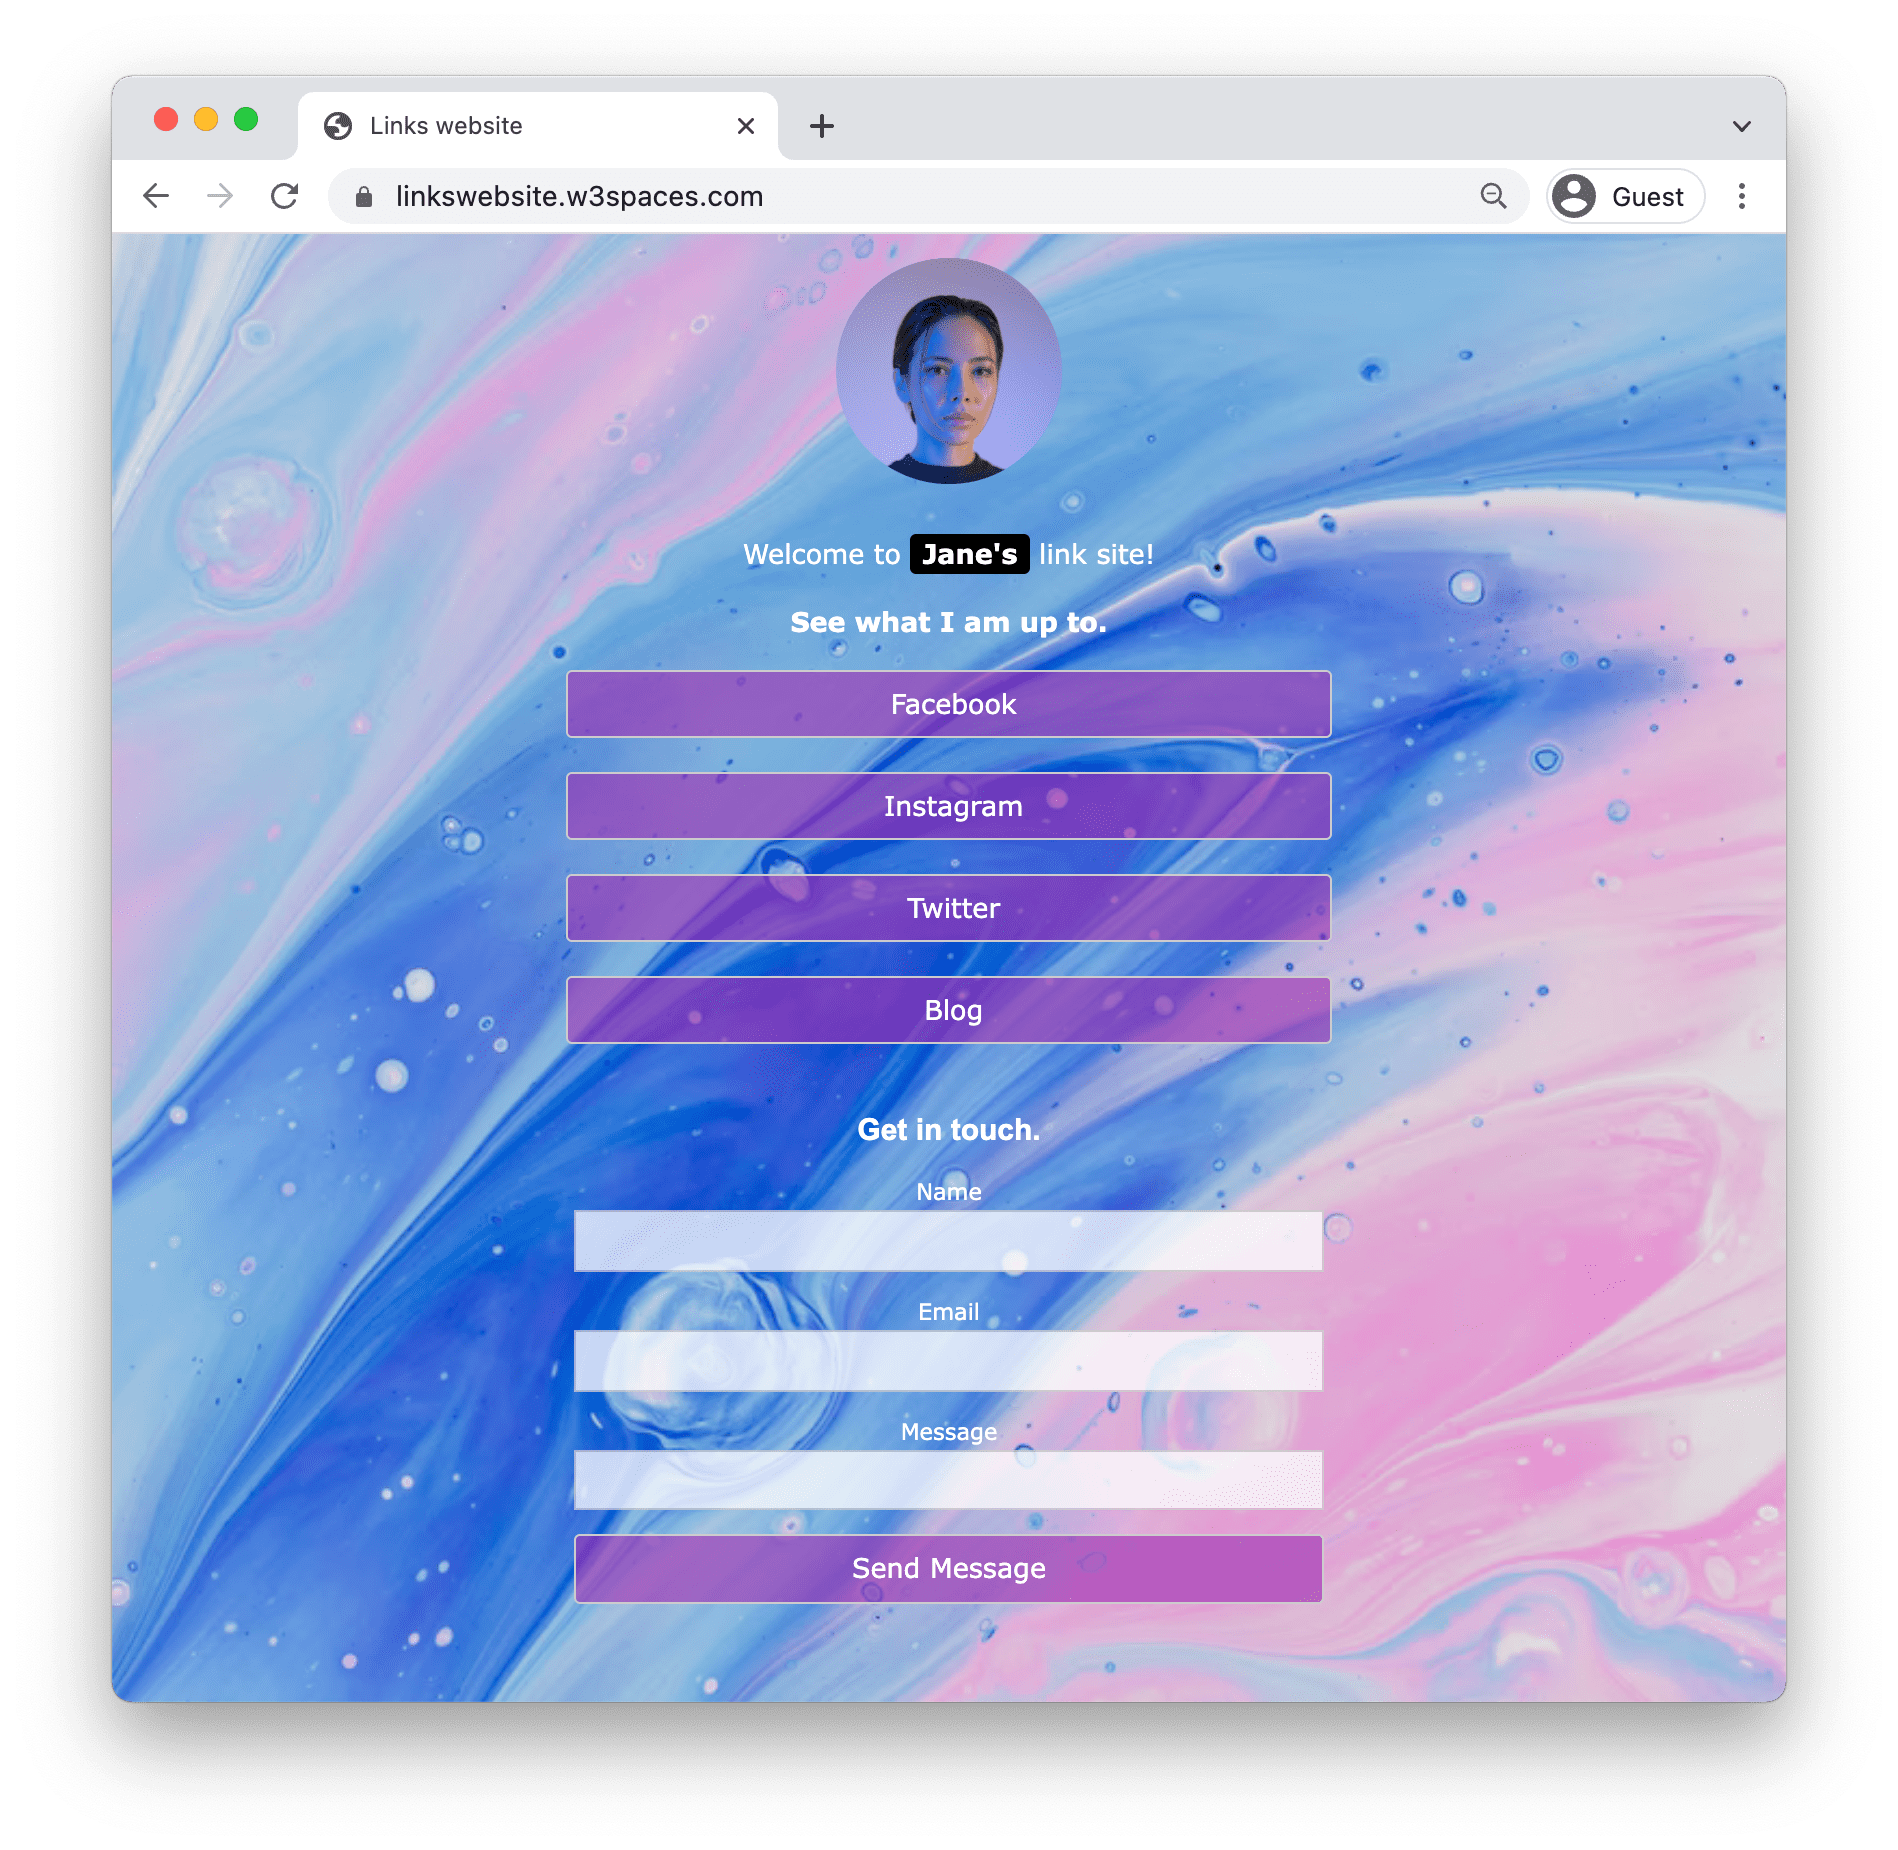
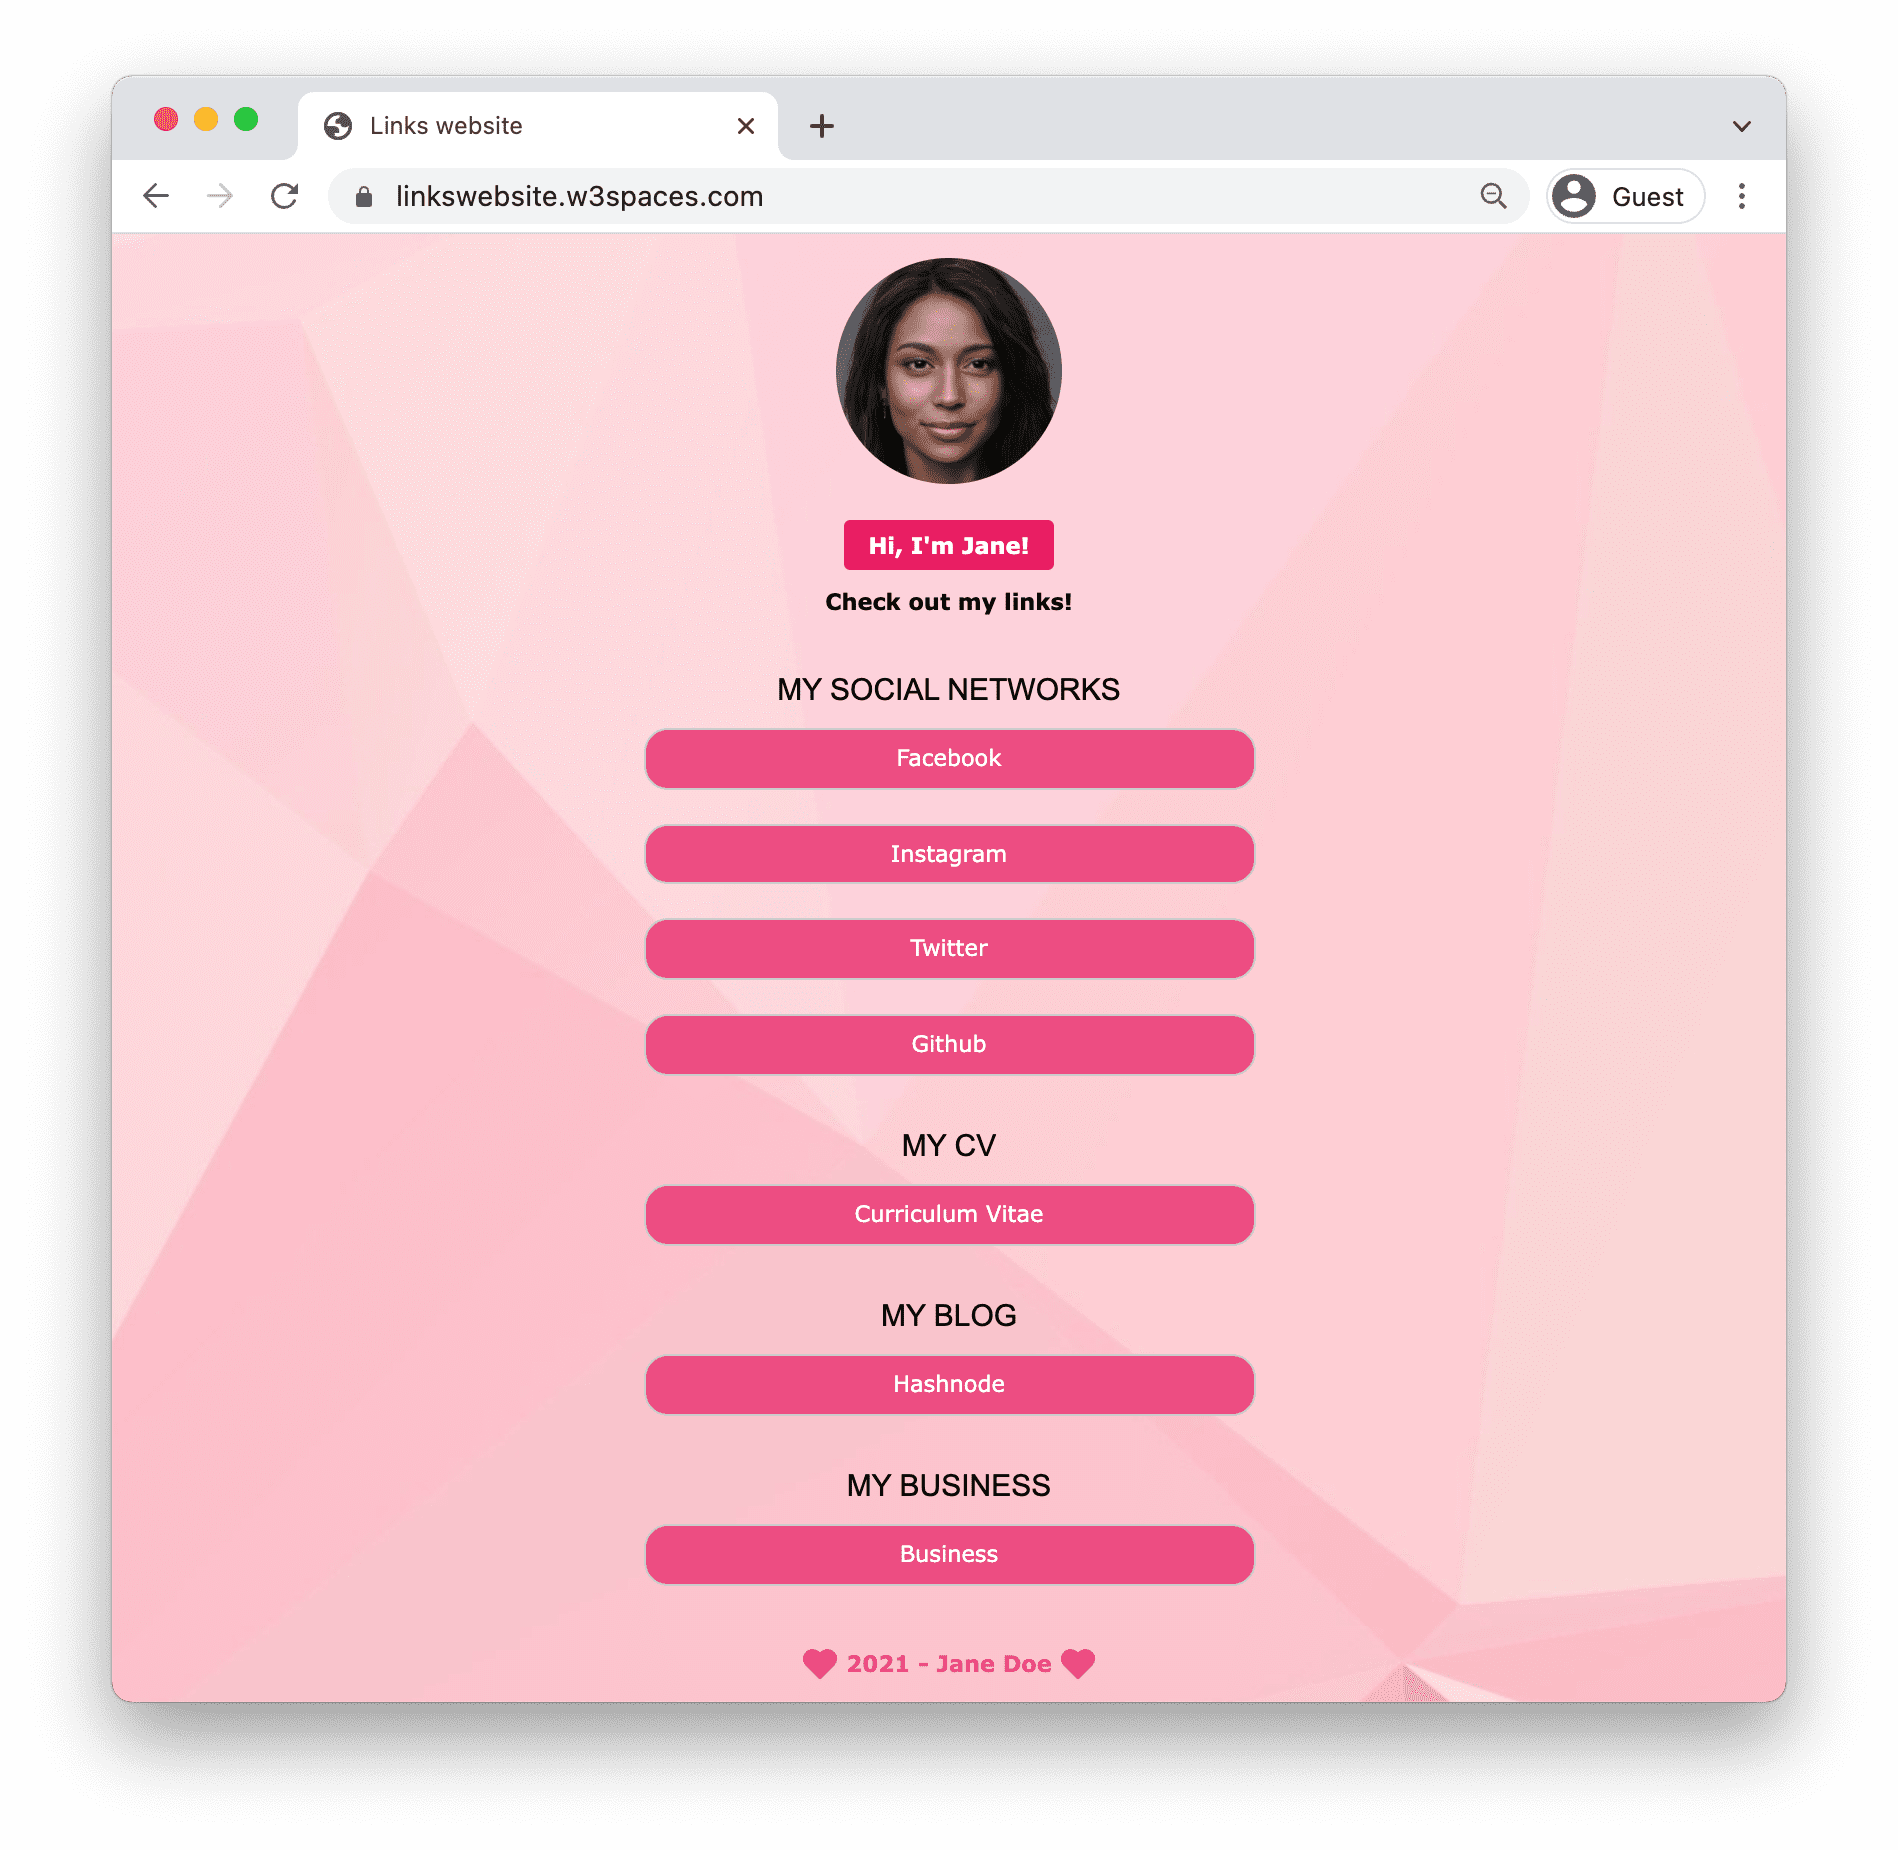
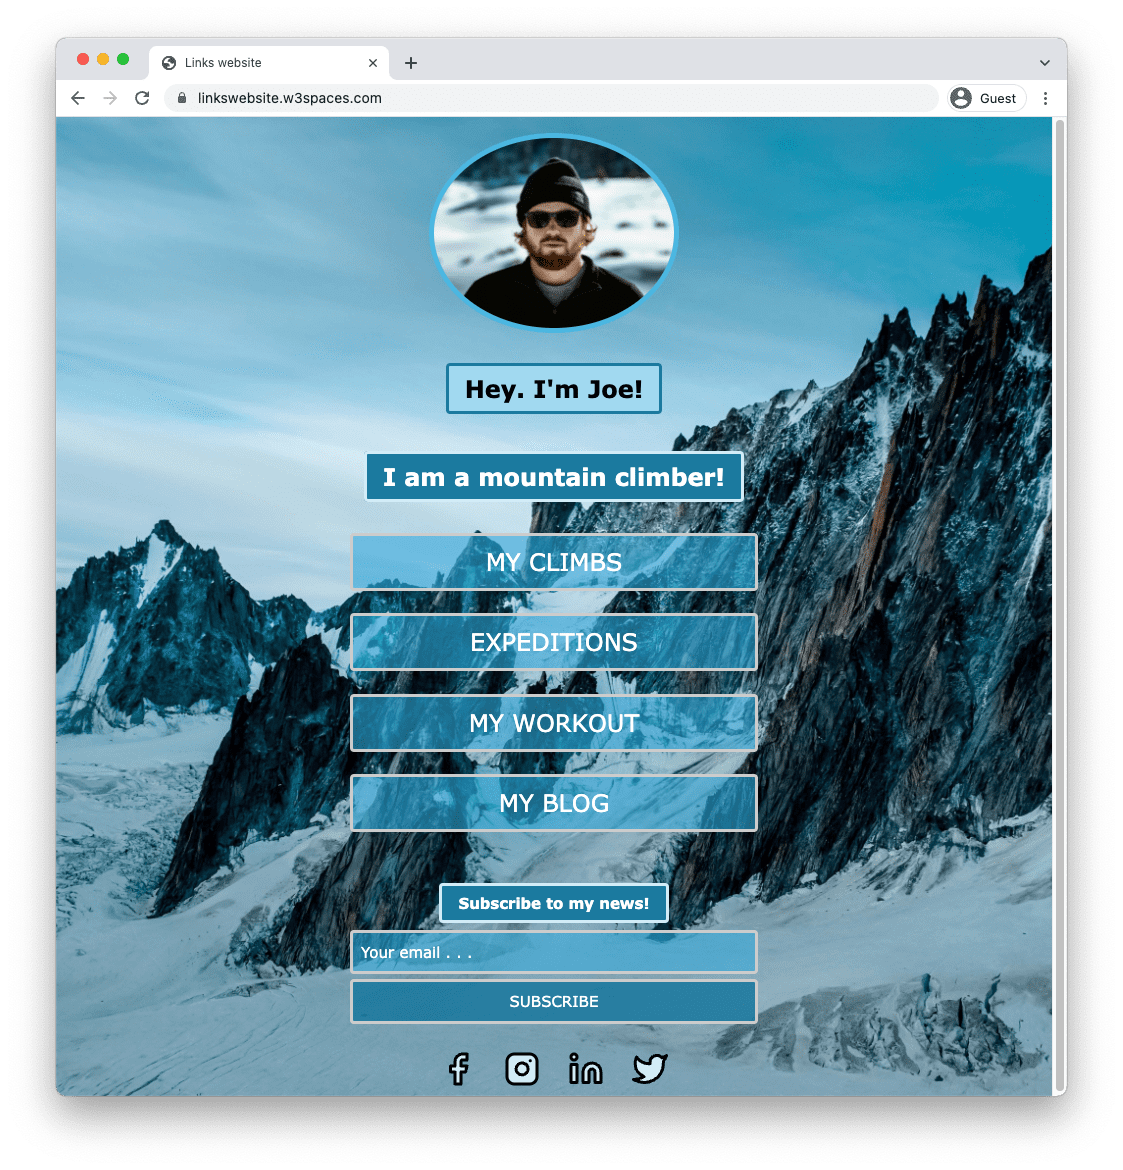
We have ready-made templates for you to use. Here are some examples:


